Apple Metamask
Apple has integrated the popular cryptocurrency wallet, MetaMask, into its Safari browser, making it the first major web browser to do so. MetaMask allows users to store, send, and receive Ethereum (ETH) and other Ethereum-based tokens. It also allows users to access decentralized applications (dapps) built on the Ethereum network.
How to Use Metamask With an Apple Device
To use Metamask with an Apple device, first install the Metamask app on your device. Once installed, open the Metamask app and click on the three lines in the top left corner. This will open the Metamask Settings page.
On the Metamask Settings page, click on the Add Account button. This will open the Add Account dialog.
In the Add Account dialog, enter your Metamask account login information and click on the Next button.
On the Metamask Verification Page, you will need to verify your account. To do this, click on the Verification button and enter the verification code that was sent to your email address when you created your Metamask account.
Once your account has been verified, click on the Next button and select the Ethereum network you would like to use.
Click on the Create Account button and your Metamask account will be created.
Setting Up Metamask on an Apple Device
To set up Metamask on an Apple device, first open the App Store on your device and search for “Metamask”. Once the App Store opens, tap the Metamask icon to install the app.
Once the Metamask app is installed, you will need to create a new account. To do this, open the Metamask app and click on the three vertical dots in the top left corner of the screen. This will open the Account Settings screen. On the Account Settings screen, click on the New Account button to create a new account.
When you create a new account, you will need to provide some basic information such as your name, email address, and password. After you have entered your information, click on the Continue button to continue.
On the next screen, you will need to select which device you want to use Metamask on. To do this, click on the Select Device button and select the device you want to use Metamask on from the list.
After you have selected your device, you will need to provide your confirmation email address. Once you have entered your confirmation email address, click on the Continue button to continue.
On the next screen, you will need to provide your permissions for Metamask. To do this, click on the Authorize button and provide your consent for Metamask to access your personal data. After you have provided your consent, click on the Continue button to continue.
On the next screen, you will need to provide your permissions for Metamask to use your phone number. To do this, click on the Allow button and provide your consent for Metamask to use your phone number. After you have provided your consent, click on the Continue button to continue.
On the next screen, you will need to provide your permissions for Metamask to use your location. To do this, click on the Allow button and provide your consent for Metamask to use your location. After you have provided your consent, click on the Continue button to continue.
On the next screen, you will need to provide your contact information. To do this, click on the Add Contact button and enter your contact information. After you have entered your contact information, click on the Continue button to continue.
On the next screen, you will need to add a fund for Metamask to use. To do this, click on the Add Fund button and enter your fund information. After you have entered your fund information, click on the Continue button to continue.
On the next screen, you will need to add a passphrase for Metamask. To do this, click on the Add Passphrase button and enter your passphrase. After you have entered your passphrase, click on the Continue button to continue.
On the final screen, you will need to confirm your account settings. To do this, click on the Confirm Account Settings button and confirm your account settings. After you have confirmed your account settings, click on the Finish button to complete the setup process.

Using Metamask With Apple's Safari Browser
Metamask is a browser extension that lets you interact with decentralized applications (dApps) and smart contracts. To use Metamask with Safari, open the Safari browser, click on the three lines in the top left corner of the window, and select "Add extension." Then, select "Metamask."
Once you've added Metamask, you'll need to generate a new key. To do this, open the Metamask extension, click on the "Keys" button in the top right corner, and select "Generate new key." You'll then be prompted to enter your name and email address. You can also choose to save your key to your desktop.
Connecting Metamask to an Apple Wallet
To connect Metamask to your Apple Wallet, open Metamask and click on the three lines in the top left corner. On the next page, click on the three lines in the top right corner and select Add Account. In the Add Account dialog, enter your Apple ID and password, and click Sign In. Metamask will now connect to your Apple Wallet and you will be able to make transactions using Metamask and your Apple Wallet balance.
Storing Ether Safely With an Apple Device
Ether can be stored safely on an Apple device if it is encrypted and backed up. To encrypt the ether, users can use a wallet such as MyEtherWallet. To backup the ether, users can create a paper wallet or use a hardware wallet such as the Ledger Nano S.

How to Secure Your Ether With an Apple Device
There are a few ways to secure your ether with an Apple device.
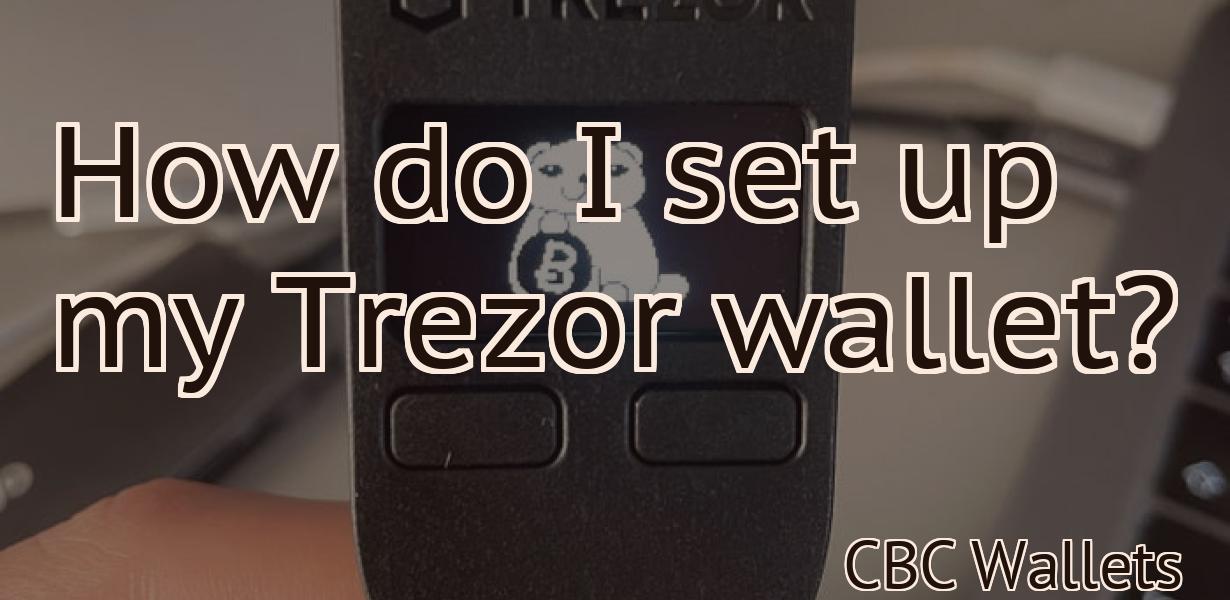
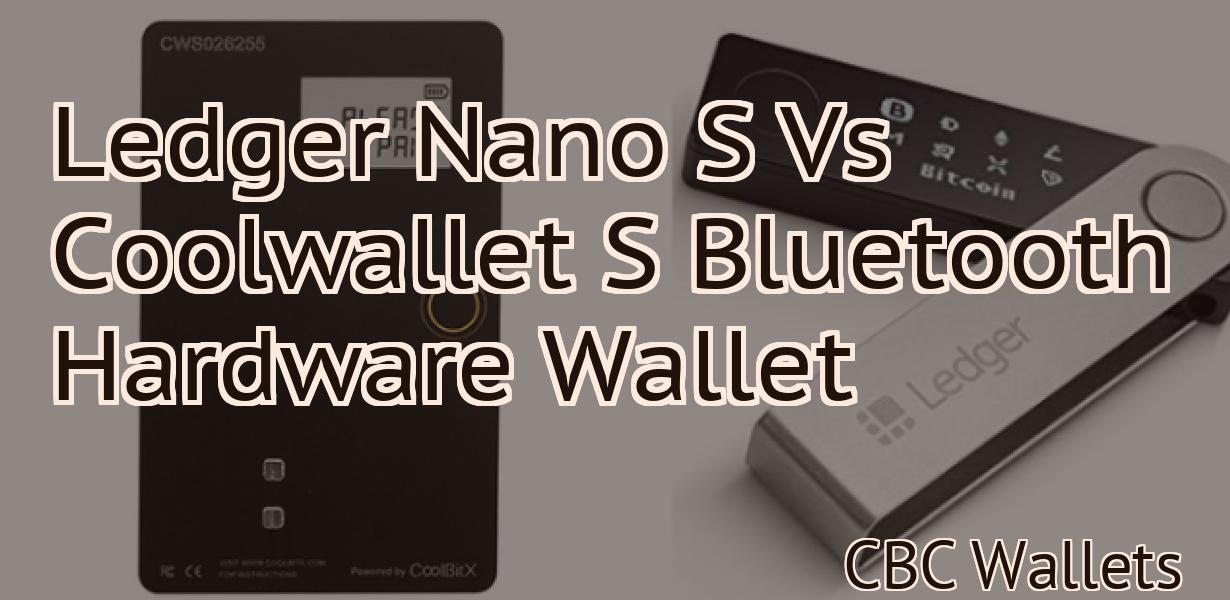
The first way to secure your ether is to use a hardware wallet. A hardware wallet is a secure device that stores your ether offline and allows you to access your ether without needing to send your private keys to a third party. Some of the most popular hardware wallets are the Ledger Nano S and the Trezor.
Another way to secure your ether is to use a mobile wallet. A mobile wallet is a app that allows you to store your ether on your mobile device. Some of the most popular mobile wallets are MyEtherWallet and Mist.
Finally, you can also use a paper wallet. A paper wallet is a physical document that contains your private keys. You can print out a paper wallet or download an ethereum wallet application and store your ether in the application.

Accessing the Ethereum Network With an Apple Device
If you don't have an Ethereum wallet, you can create one by going to https://www.ethereum.org and clicking on the "create new account" button. Once you have created your account, you will need to input your public key. Your public key is a long string of characters that you can share with other people. You can also find your public key on your Etherscan account page.
Once you have your public key, you can install the Ethereum app on your Apple device. The Ethereum app is available in the App Store and the Google Play store. Once you have installed the Ethereum app, you will need to create a wallet. To create a wallet, go to the Ethereum app and click on the "Create New Wallet" button. You will need to enter your private key and choose a password. Once you have created your wallet, you can start sending and receiving Ethereum transactions.
Interacting With Smart Contracts On the Ethereum Network Via an Apple Device
To interact with smart contracts on the Ethereum network, you will need an Ethereum client such as Mist or Geth. You will also need to have an Ethereum address and a digital wallet for storing your Ether.
Once you have these essentials, you can start interacting with smart contracts by using an Apple device.
To start, open your Ethereum client and navigate to the Contracts section. Here, you will find a list of all the active contracts on the network. To interact with a contract, simply select it and click on the “Access” button. This will bring up the contract’s information screen.
Here, you will need to input the contract’s address and the amount of Ether you want to send to it. You can also input any data you want to send to the contract, such as a message or a call function. Once you have finished inputting the information, click on the “Send” button.
Your Ether will then be sent to the contract’s address and the contract will begin to execute its instructions. If everything goes according to plan, the contract will return a response indicating that it has completed its task.
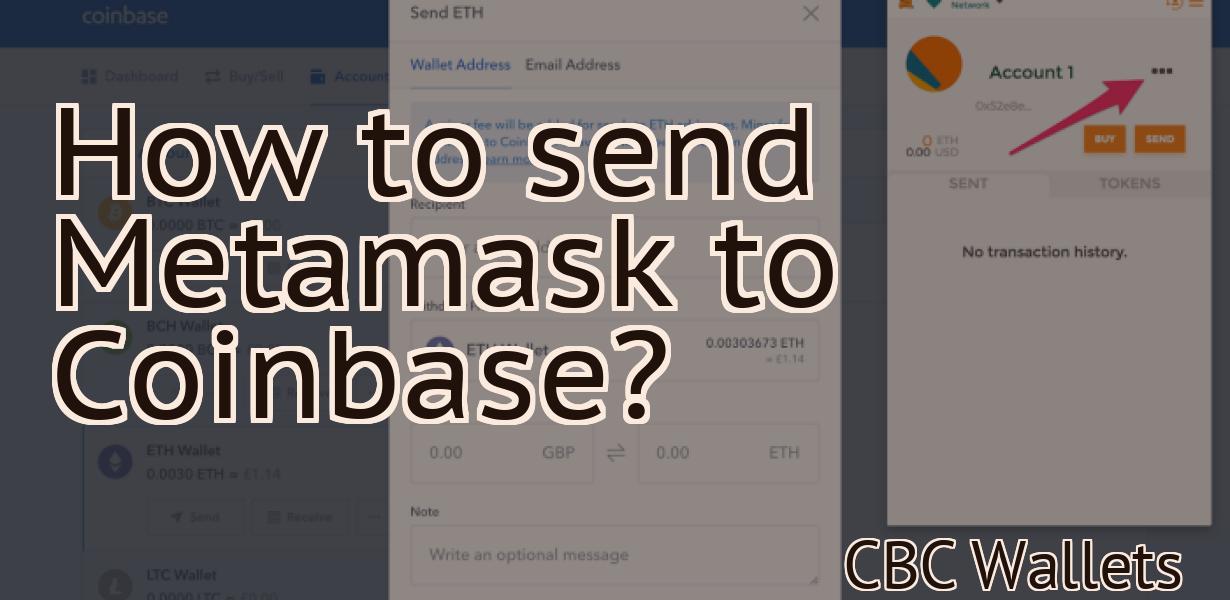
Sending and Receiving Ether With an Apple Device
To send or receive ether with an Apple device, first open the Ethereum app on your device. Then, follow these steps:
1. On the Ethereum app, tap on the menu button in the top-right corner and select Send.
2. In the Send Ether dialog, enter the recipient’s Ethereum address and tap Send.
3. On the Receiving Ether dialog, enter the sender’s Ethereum address and tap Send.
4. The transaction will be completed and you will be able to see the ether being sent in the Received Ether dialog.
5. To view the balance of the recipient, tap on their name in the Received Ether dialog and then tap on their Balance.
How to Use Metamask As an Ether Wallet on an Apple Device
There are several ways to use Metamask as an ether wallet on an Apple device. The easiest way is to install the Metamask App.
Once you have installed the Metamask App, open it and click on the “Add Account” button.
Click on the “Metamask” icon in the top right corner of the screen.
In the “Metamask Account Details” window, enter your Ethereum address and click on the “Generate New Key” button.
You will now be asked to save your keystore file. Make sure you save it somewhere safe, as you will need it to access your ether holdings.
To use your Metamask wallet on an Apple device, open the Metamask App and click on the “Ether Wallet” icon.
In the “Ether Wallet” window, enter your Ethereum address and click on the “Access” button.
You will now be able to see your ether holdings in the “Ether Wallet” window. To spend ether, simply click on the “Withdraw” button and provide the amount of ether you want to withdraw.
Using Metamask to Connect to Decentralized Applications on the Ethereum Network
Metamask is an Ethereum-based browser extension that allows users to access decentralized applications (DApps) on the Ethereum network. Metamask is one of the most popular Ethereum-based DApps, with over 1 million active users.
To use Metamask to connect to a DApp, first install the Metamask extension on your browser. Then, open the Metamask extension and click on the “Add New Account” button.
Next, enter the Ethereum address of the DApp you want to connect to and click on the “Connect” button. You will then be able to access the DApp using the address you entered.
Generating a New Wallet Address With Metamask on an Apple Device
To generate a new wallet address with Metamask on an Apple device, open the Metamask app and click on the "Create a New Wallet" button. You will be prompted to enter your details, including your name and email address. You will then be asked to choose a password. Once you have completed these steps, you will be presented with a new wallet address.