Metamask Ens
MetaMask is an extension for accessing Ethereum enabled distributed applications, or "Dapps" in your normal Chrome browser! The MetaMask extension injects the Ethereum web3 API into every website's javascript context, so that dapps can read from the blockchain.
Metamask: the ultimate guide to using Ethereum's native wallet
Metamask is an Ethereum-based, open-source wallet that allows users to manage their own personal Ethereum wallet without having to trust third-party services. Metamask provides a user-friendly interface and allows users to control their private keys. Metamask also allows users to interact with the Ethereum network and send and receive payments.
1. Install Metamask
To install Metamask, you first need to install the Ethereum Wallet. Once the Ethereum Wallet is installed, open it and click on the "Add Account" button. Next, enter the email address and password that you used to create your Ethereum account and click on the "Create Account" button. Finally, click on the "Metamask" button in the upper right corner of the Ethereum Wallet and click on the "Install" button.
2. Open Metamask
Once Metamask is installed, open it by clicking on the "Metamask" button in the upper right corner of the Ethereum Wallet and clicking on the "Open" button.
3. Create a New Wallet
To create a new wallet, first click on the "Create a New Wallet" button in the main Metamask window. This will open the "Create New Wallet" window. Next, enter the name of your new wallet and click on the "Create" button.
4. Add Accounts
To add an account, first click on the "Add Account" button in the main Metamask window and enter the email address and password of the account you want to add. Then, click on the "Add Account" button and select the account you just added from the dropdown menu.
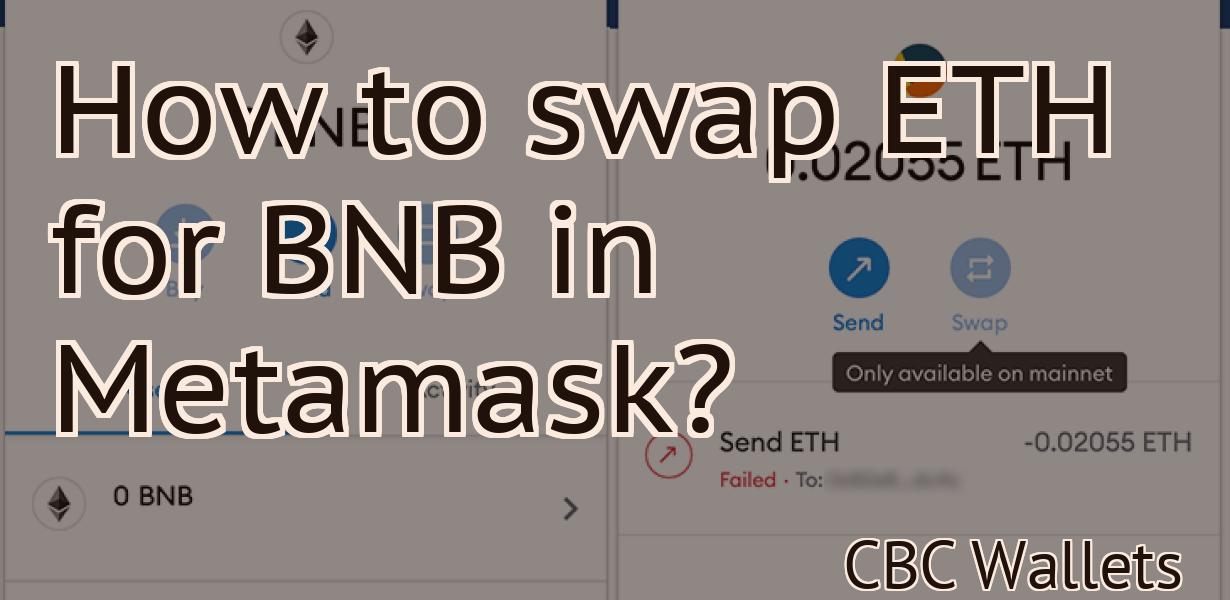
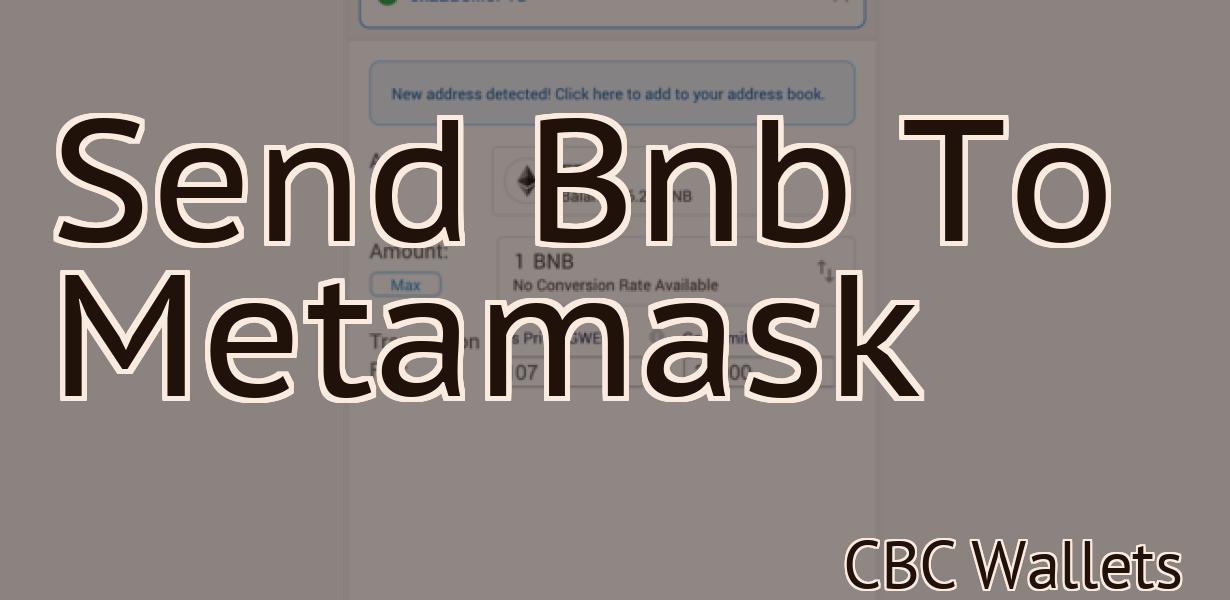
5. Transactions
To make a transaction, first click on the "Transactions" button in the main Metamask window and select the transaction you want to make from the list of transactions. Next, enter the amount of Ethereum you want to spend and the address you want to send the Ethereum to. Then, click on the "Send Transaction" button.
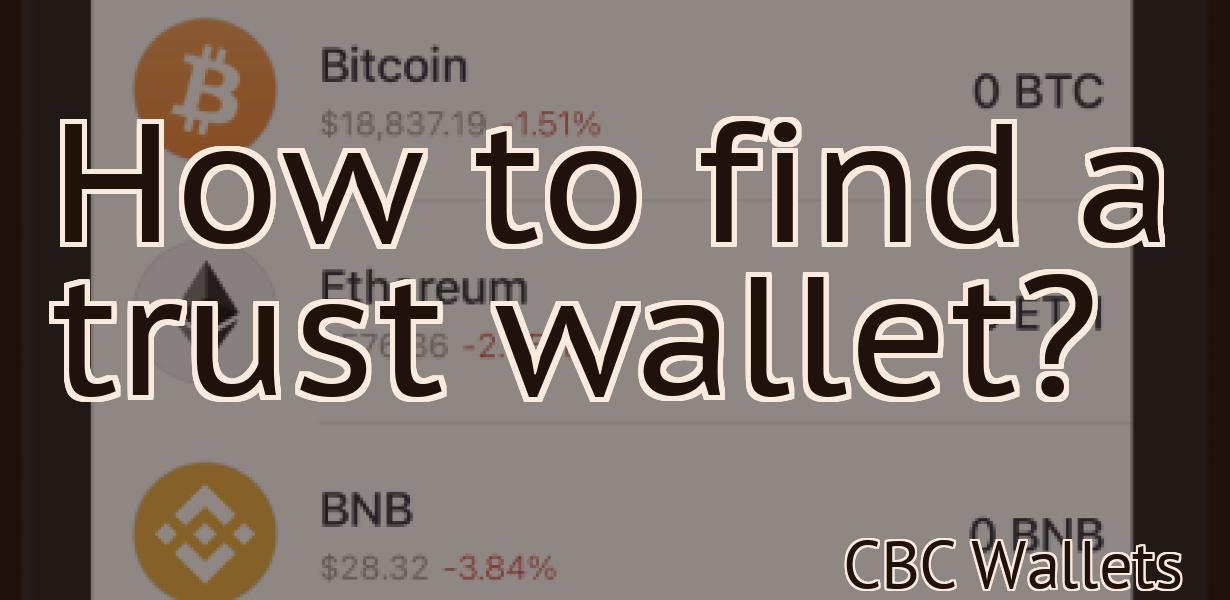
6. Wallets
To view your wallets, first click on the "Wallets" button in the main Metamask window and select the wallet you want to view from the list of wallets. Next, you will be able to see all of the transactions that have been made in that wallet and any messages that have been sent from that wallet.
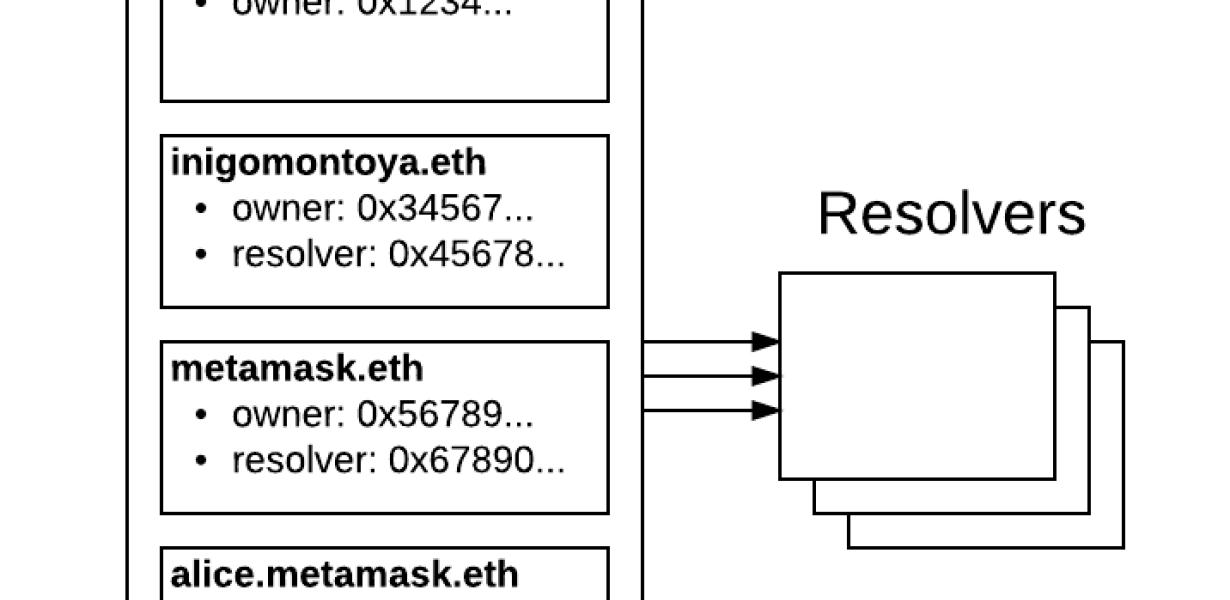
How to use Metamask to manage your ENS domains
To use Metamask to manage your ENS domains, you will first need to create a Metamask account. Once you have created your Metamask account, you will need to install the Metamask extension.
Once you have installed the Metamask extension, you will need to open it and click on the “Add new account” button.
Next, you will need to enter the following information in the “Account name” field:
ENS name : This is the name of your ENS domain.
: This is the name of your ENS domain. ENS domain : This is the domain name of your ENS domain.
: This is the domain name of your ENS domain. Email address: This is your email address.
Next, you will need to enter the following information in the “Personal info” field:
Phone number: This is your phone number.
This is your phone number. Email address: This is your email address.
Next, you will need to click on the “Create account” button.
Once you have created your Metamask account, you will need to open it and click on the “Manage accounts” button.
Next, you will need to click on the “Add new account” button.
Next, you will need to enter the following information in the “Account name” field:
ENS name : This is the name of your ENS domain.
: This is the name of your ENS domain. ENS domain : This is the domain name of your ENS domain.
: This is the domain name of your ENS domain. Email address: This is your email address.
Next, you will need to enter the following information in the “Personal info” field:
Phone number: This is your phone number.
This is your phone number. Email address: This is your email address.
Next, you will need to click on the “Create account” button.
Once you have created your Metamask account and registered your ENS domain with Metamask, you will be able to access your ENS domains and manage them using Metamask.
Metamask: the perfect tool for managing your ETH and ERC20 tokens
Metamask is a browser extension that allows users to manage their ETH and ERC20 tokens in one place. Metamask is currently available on Chrome and Firefox, and supports a wide range of tokens including ERC20, Ethereum, DAO, and Polkadot.
One of the great things about Metamask is that it allows users to keep their tokens safe and secure. Metamask encrypts all of your data, and allows you to control who has access to your tokens. Additionally, Metamask provides a variety of tools to help you manage your tokens, including a MyEtherWallet-like interface and a token Management tab in the Metamask wallet.
Overall, Metamask is a great tool for managing your ETH and ERC20 tokens. It's easy to use, secure, and provides a variety of tools to help you manage your tokens. If you're looking for a way to manage your tokens, Metamask is definitely worth considering.
How to use Metamask to secure your Ethereum transactions
First, you need to install Metamask on your computer. Metamask is a Chrome extension that allows you to securely manage your Ethereum transactions.
Once you have installed Metamask, open it and click on the "Add New Account" button.
Next, you will need to provide your name, email address, and password. Metamask will then generate a 12-word phrase that you will need to keep safe. You will also need to verify your email address by clicking on the checkbox next to it.
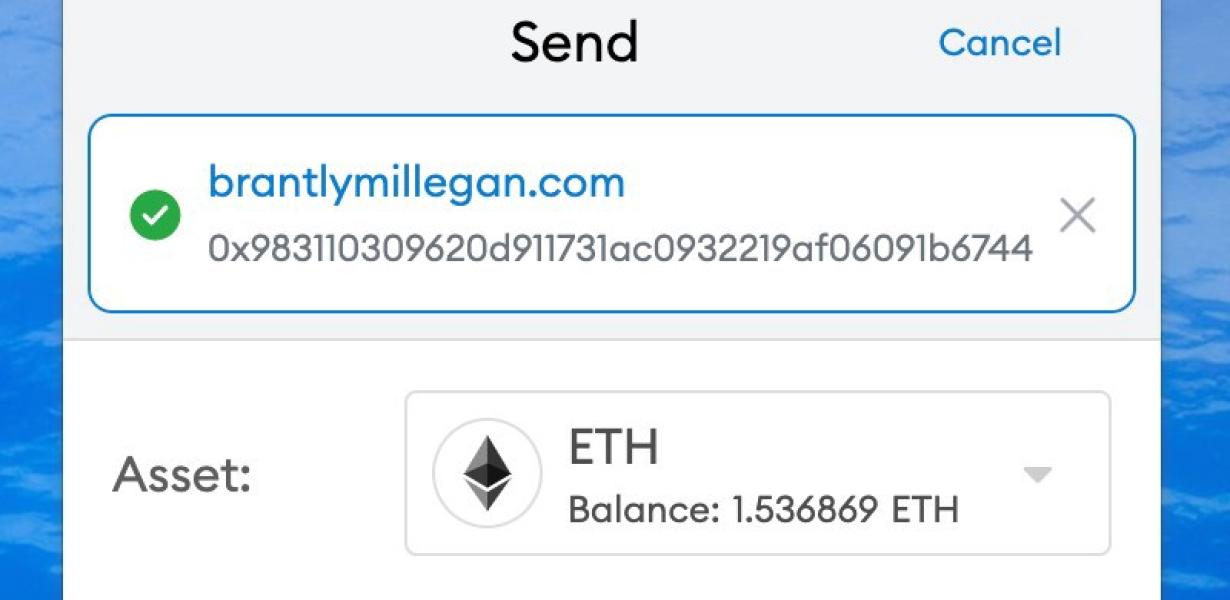
After you have completed these steps, Metamask will display a "Metamask Account" page. Click on the "Create New Transaction" button to begin creating a transaction.
First, you will need to select the currency you are using for your transaction. Ethereum is the default currency, but you can also use Bitcoin or Litecoin.
Next, you will need to provide the address and amount of Ethereum you are sending. Metamask will then display a "Gas Price" field. This is the fee that the Ethereum network is charging for your transaction. You can choose to pay the fee or wait until the fee goes down.
Finally, you will need to provide the address and amount of Ethereum you are receiving. Metamask will then display a "Gas Price" field. This is the fee that the Ethereum network is charging for your transaction. You can choose to pay the fee or wait until the fee goes down.
Once you have completed these steps, Metamask will display a summary of your transaction. You can then click on the "Send Transaction" button to send your transaction to the Ethereum network.
Metamask: the ultimate guide to using Ethereum's decentralized applications
Ethereum is a decentralized platform that enables smart contracts and distributed applications to be built and run without any third party.
This guide will teach you the basics of how to use Ethereum's decentralized applications (dApps), including how to create your own, access existing ones, and use metamasks to protect your privacy.
What is a decentralized application?
A decentralized application is a type of application that runs on a network of computers and is not subject to centralized control.
This means that dApps are not subject to the whims of a single company or individual, and they can be used by anyone without having to trust third parties.
How do I create my own dApp?
The first step is to create a Ethereum account. You can do this by visiting https://www.ethereum.org and clicking on the “create new account” button.
Once you have created your account, you will need to provide some information about yourself, including your name, email address, and password.
You will also need to install the Ethereum wallet software. This can be done by downloading the Ethereum wallet from https://www.ethereum.org/downloads/.
Once you have installed the Ethereum wallet, you will need to create a new account. To do this, click on the “accounts” tab and then click on the “new account” button.
Next, you will need to provide your personal information, including your name, email address, and password. You will also need to provide a valid security question and answer.
Once you have completed these steps, you will be ready to start creating your dApp.
How do I access existing dApps?
If you want to use an existing dApp, you first need to find it. To do this, you can search for it on the Ethereum blockchain by using the Ethereum search engine at https://etherscan.io/.
Once you have found the dApp you want to use, you will need to create an account with it. To do this, click on the “accounts” tab and then click on the “new account” button.
Next, you will need to provide your personal information, including your name, email address, and password. You will also need to provide a valid security question and answer.
Once you have completed these steps, you will be ready to start using the dApp.
Metamask: the perfect tool for managing your ETH and ERC20 tokens
If you’re like most people, you have a bunch of different tokens sitting in various accounts across different platforms. You probably have ETH and ERC20 tokens stored in your personal account, maybe some tokens from an ICO you participated in, and maybe a few others. Managing all these tokens can be a pain, and it’s not always clear what needs to be done to move them around or sell them.
That’s where Metamask comes in. Metamask is a tool that allows you to manage your ETH and ERC20 tokens in one place, and it’s perfect for anyone who wants to take control of their token portfolio.
Metamask is a desktop application, so you can use it on your own computer. It’s also available as a browser extension, so you can access it from any browser.
Once you have Metamask installed, you can start using it to manage your tokens. First, you need to add your personal Ethereum address. This is the address where you will store your ETH and ERC20 tokens. Next, you need to add the addresses of the tokens you want to manage. Metamask will automatically identify the ERC20 tokens and add the appropriate addresses.
Next, you need to add a transaction history for each token. This will let you see how much ETH and ERC20 tokens have been transferred from each address, and when. You can also add notes about each transaction, if you want.
Finally, you can manage your tokens by sending and receiving ETH and ERC20 tokens. You can also sell or trade tokens using Metamask.
Overall, Metamask is a great tool for managing your ETH and ERC20 tokens. It's easy to use, and it lets you keep track of your transactions and notes easily. If you're tired of trying to manage your tokens across different platforms, Metamask is the perfect solution.