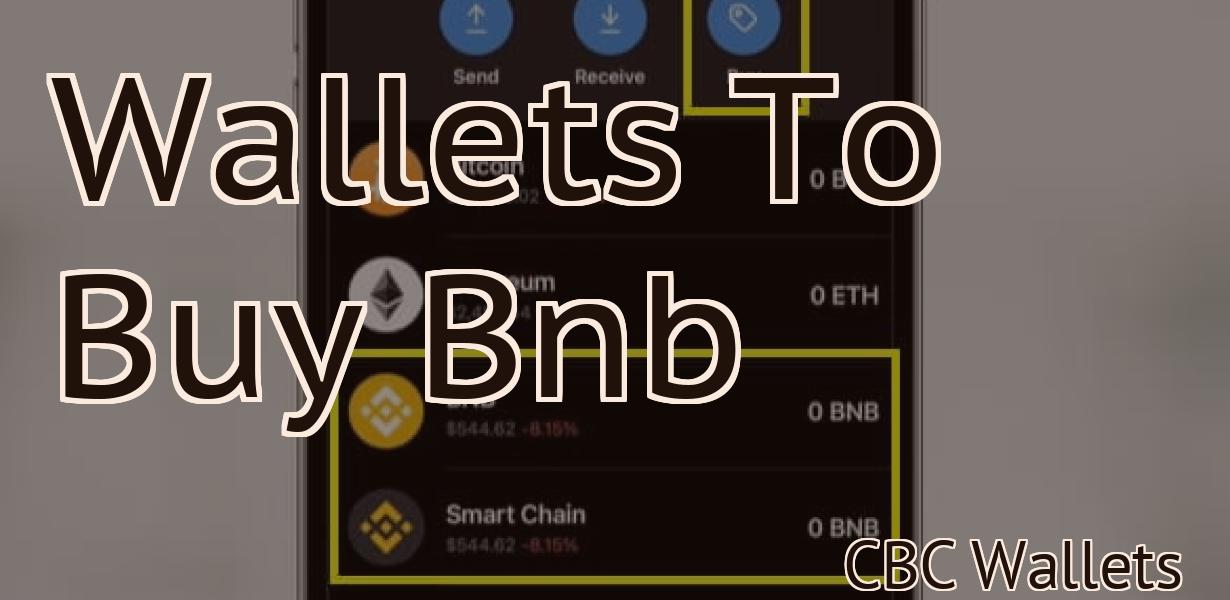
Does Metamask support Terra?
MetaMask is a digital wallet that allows you to store, send, and receive Ethereum and other ERC20 tokens. Terra is a decentralized stablecoin platform built on the Ethereum blockchain. MetaMask does not currently support Terra, but it may in the future.
Metamask Now Supports Terra!
MetaMask is a popular browser extension that allows you to interact with the Ethereum network. Today, MetaMask supports the Terra cryptocurrency!
Terra is a new digital currency that uses blockchain technology to create a secure and transparent ecosystem. Terra is built on the Ethereum platform and uses the ERC20 standard.
To use Terra with MetaMask, you first need to install the Terra software wallet. The Terra wallet allows you to store your Terra tokens and use them to purchase goods and services online.
Once you have installed the Terra wallet, you can add it to your MetaMask extension. Then, you can use it to purchase items and services from participating merchants.
We can’t wait to see what the future holds for Terra and MetaMask!
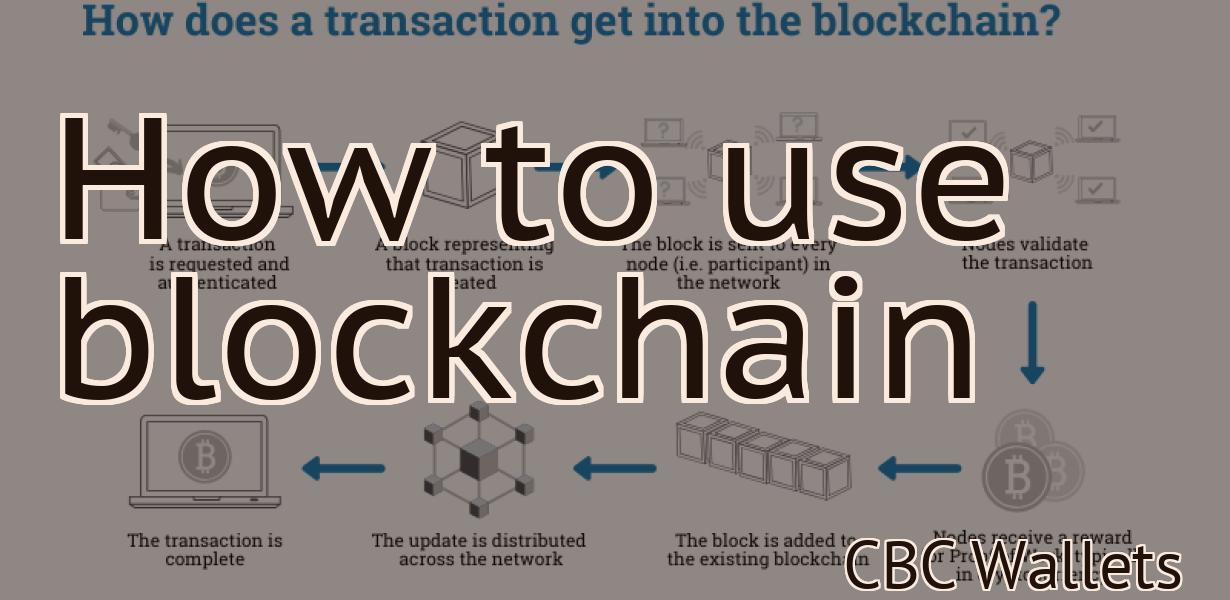
How to Use Metamask with Terra
form
To use Metamask with Terraform, you will first need to install the metamask extension.
Once the metamask extension is installed, you can start using it with Terraform by opening the Terraform editor and selecting the "New" button. In the "New Terraform Project" window, you will need to specify the name of your project and the location of your Terraform files. Then, you will need to select the "Metamask" provider from the list of providers and enter your account credentials.
Once you have entered your credentials, you will be able to access your Metamask wallet and select the "Import Wallet" button. This will open the "Import Wallet" dialog box, which you will need to enter the path to your Metamask wallet file. Once you have entered the path, you will need to select the "Upload" button to upload your Metamask wallet file.
Once your Metamask wallet has been uploaded, you will be able to select the "Terraform" button in the "New Terraform Project" window and enter your Terraform commands. You will first need to specify the name of your environment, which can be either "Development" or "Production". Then, you will need to specify the name of your resource and the configuration file that corresponds to that resource. Finally, you will need to enter your Terraform commands.
For example, to create a new environment called "Test", you would enter the following command in the "Terraform" window:
terraform new test -env Development
Similarly, to create a new resource called "server1", you would enter the following command in the "Terraform" window:
terraform new server1 -name "server1" -configuration "./server1.tf"
Getting Started with Metamask and Terra
form
Metamask is a secure, decentralized platform that allows you to interact with the Ethereum network. Terraform is a tool for managing infrastructure. Together, they make it easy to create, manage, and deploy smart contracts on the Ethereum network.
To get started, first install Metamask and Terraform. Then, follow these steps:
1. Open Metamask.
2. Click the “Create New Account” button.
3. Enter your name, email address, and password.
4. Click the “Create Account” button.
5. Click the “Connections” button.
6. Click the “Add a New Connection” button.
7. In the “Connection Name” field, enter “Ethereum”.
8. In the “Connection Address” field, enter “0x3f4d1e8e0e89f30b60bddadcac9aad24d2b80aeb”.
9. In the “Token Contract Address” field, enter “0xb3ade5a5a3dff0297e5bf68a5bcdcadf3ca7c1bb”.
10. In the “Access Token” field, enter “Metamask Access Token”.
11. Click the “Connect” button.
12. In the “Blockchain Networks” section, click the “Ethereum” button.
13. In the “Configure” section, click the “Terraform” button.
14. In the “Configure Project” dialog box, click the “New” button.
15. In the “Select Provider” dialog box, select “Terraform”.
16. In the “Select Resource” dialog box, select “Infrastructure”.
17. In the “Select Source” dialog box, select “ terraform-provider-aws ”.
18. In the “Select Outputs” dialog box, select “Infrastructure”.
19. In the “Configure Inputs” dialog box, click the “New” button.
20. In the “Select Provider” dialog box, select “Terraform”.
21. In the “Select Resource” dialog box, select “Aws”.
22. In the “Select Source” dialog box, select “ terraform-provider-aws/ec2 ”.
23. In the “Select Outputs” dialog box, select “Infrastructure”.
24. Click the “Configure” button.
25. In the “Configure Resources” dialog box, click the “New” button.
26. In the “Select Provider” dialog box, select “Terraform”.
27. In the “Select Resource” dialog box, select “EC2”.
28. In the “Select Source” dialog box, select “ terraform-provider-aws/ec2/instance-id ”.
29. In the “Select Outputs” dialog box, select “Infrastructure”.
30. Click the “Configure” button.
31. In the “Configure Outputs” dialog box, click the “New” button.
32. In the “Select Provider” dialog box, select “Terraform”.
33. In the “Select Resource” dialog box, select “EC2”.
34. In the “Select Outputs” dialog box, select “Infrastructure”.
35. Click the “Configure” button.
36. In the “Configure Security Group Rules” dialog box, click the “New” button.
37. In the “Security Group Name” field, enter “metamask-ec2-security-group”.
38. In the “Security Group Description” field, enter a description of your EC2 security group.
39. In the “Inbound Traffic Rules” dialog box, click the “Add Rule” button.
40. In the “Rule Name” field, enter “Allow All Traffic From Metamask (HTTP)”.
41. In the “Rule Description” field, enter a description of your EC2 security group rule that allows all traffic from Metamask (HTTP).
42. In the “Allow From Address” field, enter 127 .0 .0 .1 . In the “Allow To Address” field, enter any address in your EC2 instance that you want to allow access to your Metamask (HTTP) instance from. This address can be any IP address in your EC2 instance, not just your local IP address. For example, if your EC2 instance has an IP address of 10 .1 .1 .100 , you could enter 10 .1 .1 .100 in the Allow From Address field and any other IP address in your EC2 instance in the Allow To Address field. You can also include wildcard characters (*) in either field to allow access from any IP address in your EC2 instance. For example, 10 .1 .1 .100 * would allow access from any IP address in your EC2 instance that matches 10 .1 .1 .100 .
43. Click the OK button to add the rule to your EC2 security group rule set.
44. Click the Apply Rules button to apply your EC2 security group rule set to your

Using Metamask to Access Terra DApps
If you are not familiar with Metamask, it is a Chrome browser extension that allows users to access the Ethereum network and its decentralized applications.
To use Metamask, you first need to create an Ethereum wallet. You can do this by visiting https://www.ethereum.org and clicking on the “Create New Wallet” button.
Once you have created your Ethereum wallet, you will need to add it to your Metamask extension. To do this, open Metamask and click on the three lines in the top right corner. From here, you will need to select your Ethereum wallet from the list and click on the “Add Wallet” button.
Once your Ethereum wallet has been added to Metamask, you will need to open the Ethereum app and click on the “Metamask” button in the top left corner. From here, you will need to enter your personal Ethereum address and password. Once you have done this, Metamask will display a green “Metamask OK” button.
Now that you have added your Ethereum address and password to Metamask, you can visit the Terra DApps website and start exploring the various dapps available.
How to Connect Metamask to Your Terra Wallet
To connect Metamask to your Terra Wallet:
1. Open Metamask and click on the three lines in the top right corner.
2. Click on Add Wallet.
3. Enter your Terra Wallet address in the field provided and click on Next.
4. Click on Connect.
5. Metamask will now start syncing with your Terra Wallet. This may take a few minutes.
6. Once the sync is complete, you will be able to continue using Metamask as normal.
Securing Your Terra Funds with Metamask
Metamask is a crypto-wallet that secures your Terra funds with a multi-signature system. Metamask requires a personal Ethereum address for initial setup, but you can later use any Ethereum address. After you have set up Metamask, launch the app and click on the three lines in the top left corner. In the dialog that opens, select "Add Account." If you don't have an Ethereum address yet, you can create one by clicking on "Create New Account." Next, enter your personal Ethereum address and click "Next." In the dialog that pops up, make sure that "Metamask" is selected under "Type of Wallet." Finally, click on "Create Account."
After you have created an account, you will need to install the Metamask extension for your browser. To do this, open the Chrome web browser and click on the "three lines" in the top left corner of the browser. Next, click on "Extensions" and then on "Install from repository." Find and click on the Metamask extension and then click on "Install." After the extension has installed, you will need to enable it. To do this, open the Chrome web browser and click on the "three lines" in the top left corner of the browser. Next, click on "Settings" and then on "Advanced." Under "Privacy & security," check the box next to "Metamask" and then click on "OK."
Now that you have set up Metamask and installed the extension, you are ready to secure your Terra funds. To do this, open the Metamask app and click on the three lines in the top left corner. In the dialog that opens, select "Send Ether & Tokens." Next, enter the amount of Terra that you want to send and select the token that you want to send it to. Finally, select "OK." After you have sent your Terra funds, Metamask will return you to the main Ethereum wallet screen.

What is Metamask and why should I use it with Terra?
Metamask is a decentralized application that allows users to interact with the Ethereum network. It allows users to access their account, send and receive tokens, and manage their wallet without having to trust a third party. Terra uses Metamask to allow users to access their account and manage their funds.
How does Metamask work with Terra?
Metamask works with Terra to allow users to access and manage their digital assets securely and easily. With Metamask, users can access and manage their assets through the Metamask Chrome extension, as well as the Metamask Android and iOS apps.
Which browsers support Metamask for Terra?
Metamask is supported by the following browsers: Chrome, Firefox, and Opera.