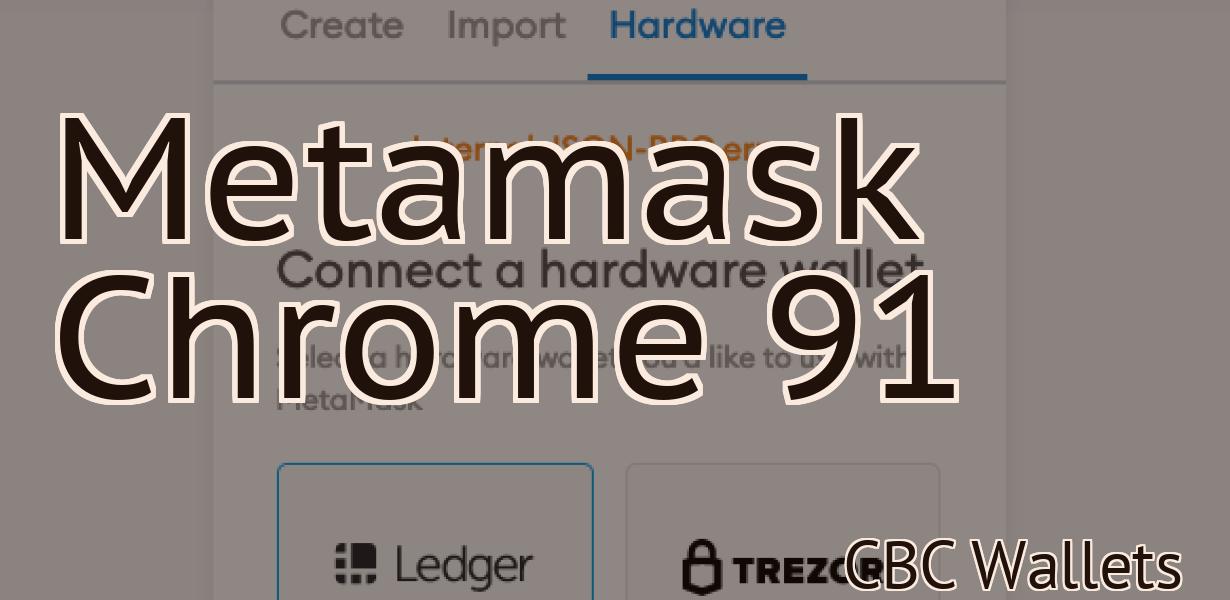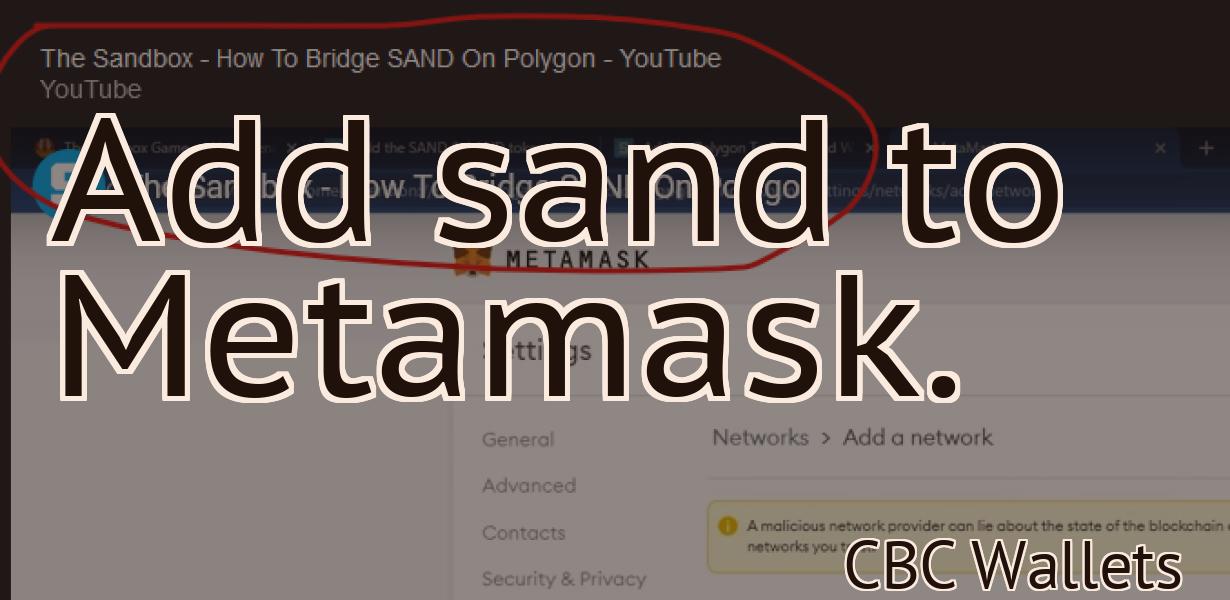
Add the Matic mainnet to Metamask.
The Matic mainnet is now available on Metamask! You can now use Metamask to access your Matic account and interact with decentralized applications (dApps) built on the Matic Network.
How to add Matic Mainnet to Metamask
1. Go to https://metamask.io/ and click on the "add account" button.
2. On the next page, enter your Metamask address and click on the "create account" button.
3. On the next page, click on the "add account" button next to Matic Mainnet.
4. On the next page, enter your Matic Mainnet address and click on the "create account" button.
5. On the next page, click on the "import accounts" button.
6. On the next page, click on the "add account" button next to Matic Mainnet.
7. On the next page, enter your Matic Mainnet address and click on the "create account" button.
8. On the next page, you will be asked to confirm your Matic Mainnet account. Click on the "yes, create an account" button.
Matic Mainnet now available on Metamask
The Matic mainnet is now available on Metamask! This marks the official launch of the Matic platform and signifies the culmination of months of hard work by the Matic team.
To start using Matic, first add the Matic token to your Metamask account and open the Matic wallet. Then, send some Matic tokens to a friend to get started.
Thank you for supporting Matic!
Adding Matic Mainnet to your Metamask wallet
1. If you don’t have Metamask installed, install it here.
2. Click on the three lines in the top left corner of your Metamask window and select “Add a New Account”.
3. Type Matic Mainnet in the “Account Name” field and click on “Create Account”.
4. Copy the Matic Mainnet address from the “Account Address” field and click on “Save”.
5. Click on the three lines in the top left corner of your Metamask window and select “View Accounts”.
6. Click on the Matic Mainnet account and click on “Address”.
7. Paste the Matic Mainnet address into the “Address” field and click on “Copy”.
8. Click on the three lines in the top left corner of your Metamask window and select “Export Private Key”.
9. Select “Matic Mainnet” from the “Type” dropdown menu and click on “Export”.
10. Open the exported Matic Mainnet private key file in a text editor such as Notepad++.
11. Change the “Key Length” field to 4096 and click on “Save”.
12. Click on the three lines in the top left corner of your Metamask window and select “Import Private Key”.
13. Select “Matic Mainnet” from the “Type” dropdown menu and click on “Import”.
14. The Matic Mainnet private key will be imported into your Metamask wallet and the corresponding address will be displayed next to the account name.
How to access Matic Mainnet through Metamask
1. Go to matic.network
2. Click on the Metamask logo in the top left corner
3. Click on the Metamask Settings cog in the top left corner
4. In the Metamask Settings cog, click on the "Access Matic Mainnet" button
5. On the Access Matic Mainnet page, you will be asked to input your Metamask account password. Once you have input your password, you will be able to access the Matic Mainnet!

Enabling Matic Mainnet on Metamask
To enable Matic Mainnet on Metamask, first open the Metamask Chrome extension and click on the three lines in the top right corner.
Then click on the "Settings" button.
Scroll down to the "Network" section and click on the "+" button next to "Matic Mainnet".
Click on the "Activate" button and you're done!
Now you can use Metamask with Matic Mainnet
1. Install Metamask
2. Open Metamask and click on the “Add Account” button
3. In the “Account Type” dropdown, select Matic Mainnet
4. Click on the “Connect” button
5. Metamask will now ask you to input your Matic Mainnet wallet address. You can find this information on your Matic Mainnet wallet account page. Once you have input the correct address, click on the “Connect” button
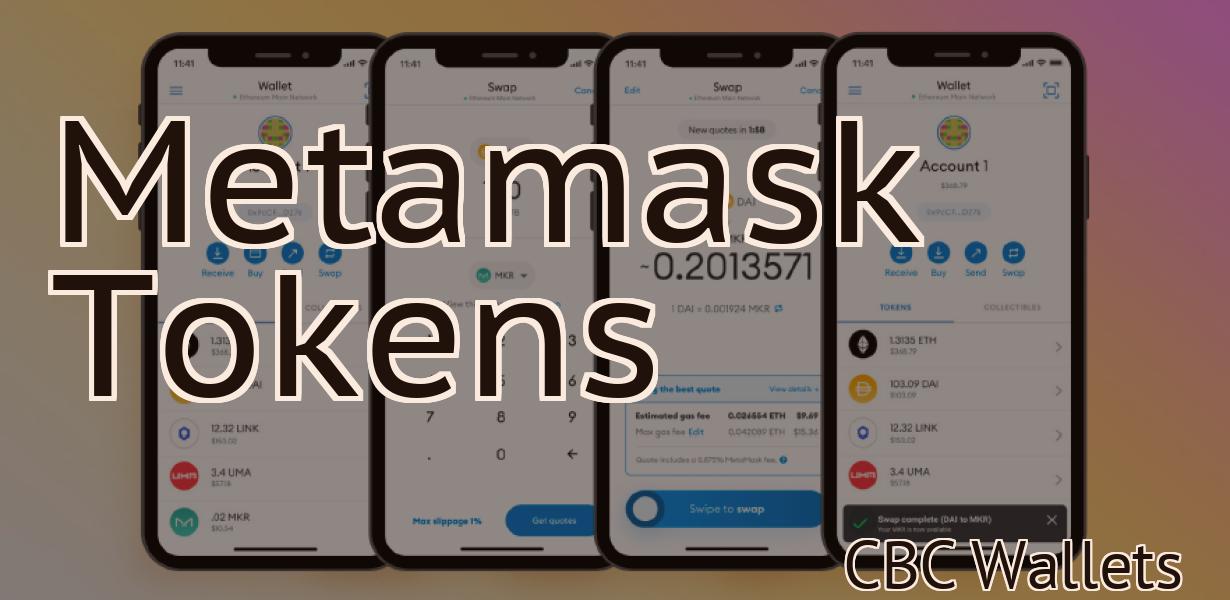
6. Metamask will now show you all the ERC20 tokens that you hold in your Matic Mainnet wallet. You can view and transfer these tokens using Metamask just as you would any other ERC20 token.
Using Metamask with Matic Mainnet
To use Metamask with Matic Mainnet, you will need to first install Metamask and Matic. Metamask is a browser extension that allows you to access the Matic blockchain network. Matic is a platform that allows you to build and manage dApps. Once you have installed Metamask and Matic, you can start using them to access the Matic Mainnet.
To start using Metamask with Matic Mainnet, first open the Metamask extension on your browser. Next, click on the three dots in the top right corner of the extension and select "Add Account." You will then be prompted to enter your Metamask account login information. Next, click on the "Connected Accounts" button to view all of the accounts that are currently connected to your Metamask account. Click on the "Matic" account to start using it with the Matic Mainnet.
To use the Matic Mainnet with Metamask, first open the Matic extension on your browser. Next, click on the "New DApp" button to create a new DApp. You will then be prompted to enter a name for your DApp and a description of it. Next, click on the "Create DApp" button to start building your DApp.
To use the Matic Mainnet with Metamask, first open the Matic extension on your browser. Next, click on the "New Wallet" button to create a new wallet. You will then be prompted to enter a name for your wallet and a password to protect it. Next, click on the "Create Wallet" button to start building your wallet.
To use the Matic Mainnet with Metamask, first open the Matic extension on your browser. Next, click on the "Send Transaction" button to send a transaction to the Matic Mainnet. You will then be prompted to enter a recipient address, an amount of currency to be sent, and a memo. Next, click on the "Send Transaction" button to send the transaction to the Matic Mainnet.
Connecting Metamask to Matic Mainnet
Metamask is a browser extension that allows users to interact with the Ethereum network. To do so, Metamask needs to connect to the Matic Mainnet.
To connect Metamask to the Matic Mainnet, open Metamask and click on the three lines in the top right corner. Under "Settings," select "Connections." On the "Ethereum" tab, select "Connect to Matic." Click on the blue "Connect" button to begin the connection process.
Once Metamask has connected to the Matic Mainnet, you will be able to access your Ethereum wallet and transactions.
Accessing Matic Mainnet with Metamask
1. Open Metamask and click on the three lines in the top right corner.
2. In the "Token Issuer" field, click on the Matic logo.
3. In the "Token Name" field, type MATIC.
4. In the "Decimals" field, type 18.
5. Click on the "Generate New Address" button.
6. Copy the address that is displayed in the "New Address" field and paste it into the "Address" field in your browser.
7. In the "Port" field, type 18000.
8. Click on the "Connect" button.
9. In the "Metamask Login" field, enter your Metamask login credentials.
10. In the "Metamask Password" field, enter your Metamask password.
11. Click on the "Log In" button.
12. In the "Mainnet" field, click on the "Yes" button.
How to connect Metamask to Matic Mainnet
To connect Metamask to Matic Mainnet, you will first need to create an account on Matic. After you have created your account, you will need to input your Metamask address into the Matic Mainnet login form. After you have logged in, you will be able to find the Metamask connection button on the left-hand side of the main Matic homepage. Click on the Metamask connection button to begin the connection process.
Using Metamask with the Matic Mainnet
Metamask is a decentralized identity platform that allows users to interact with the Ethereum network. Metamask supports ERC-20 tokens and allows users to interact with smart contracts.
To use Metamask with the Matic Mainnet, you will first need to create an account on Metamask. After you have created an account, you will need to install the Metamask extension. After you have installed the Metamask extension, you will need to open the Metamask extension and click on the “Add a new token” button.
Next, you will need to enter the details of the token. You will need to provide the name of the token, the symbol of the token, and the contract address of the token. After you have entered the details of the token, you will need to click on the “ADD TO WALLET” button.
After you have added the token to your Metamask wallet, you will need to open the Metamask extension and click on the “Watch” button. The Metamask extension will continuously monitor the contract address of the token and will allow you to interact with the smart contract associated with the token.