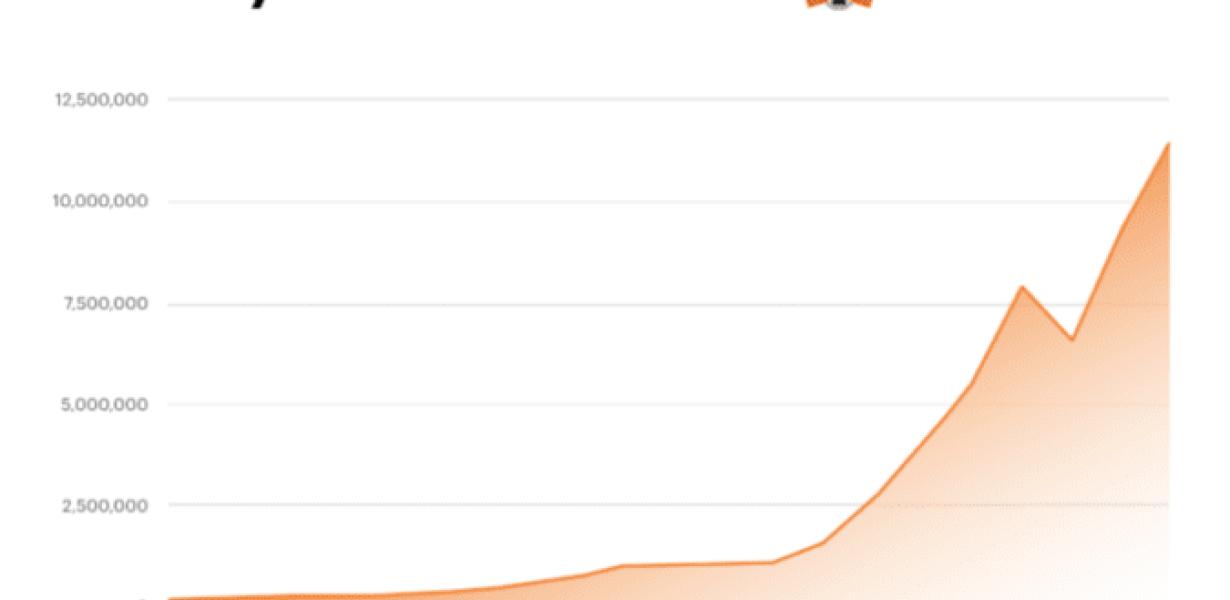
Metamask Mau
Metamask Mau is a digital asset that allows users to securely and easily access their Ethereum accounts. With Metamask Mau, users can connect to any Ethereum-compatible blockchain and use dapps without having to download the entire blockchain. Metamask Mau also provides a secure way to store private keys and sign transactions offline.
MetaMask: The ultimate guide to using MetaMask
This guide will teach you everything you need to know about using MetaMask, including how to set up your account, add funds, and use its various features.
1. What is MetaMask?
MetaMask is a web browser extension that allows you to conduct transactions with the Ethereum blockchain. It works by enabling you to access your Ethereum wallet through the extension, which allows you to make transactions and access your Ethereum holdings without having to leave the web browser.
2. How do I set up my MetaMask account?
To set up your MetaMask account, first download the extension from the Chrome Web Store or Mozilla Add-ons website. Once installed, open the extension and click on the “New Account” button. You will be asked to provide your name, email address, and password. Once you have entered these details, click on the “Create Account” button.
3. How do I add funds to my MetaMask account?
To add funds to your MetaMask account, first open the extension and click on the “Wallet” tab. Next, click on the “Send Ether & Tokens” button and input the amount of Ether or tokens you wish to send. Finally, select the wallet address from which you wish to send the funds and click on the “Send Ether & Tokens” button.
4. What are the various features of MetaMask?
The various features of MetaMask include:
• Access to your Ethereum wallet;
• The ability to make transactions with the Ethereum blockchain;
• The ability to create and manage multiple Ethereum wallets; and
• The ability to protect your personal information by encrypting your transactions.
How to use MetaMask: A step-by-step guide
1. Open MetaMask and sign in.
2. Click on the three lines in the top left corner of the browser window.
3. On the "Add token" page, enter the following information:
- The name of the ERC20 token you would like to access
- The address of the ERC20 token's smart contract
4. Click on the "Add token" button.
5. On the "Token Details" page, you will need to provide the following information:
- The name of the token
- The symbol of the token
- The total supply of the token
- The address of the token's smart contract
6. Click on the "Save" button.
7. Navigate to your ERC20 token's smart contract address.
8. Enter the following information:
- The name of the account with which you want to make transactions
- The password for that account
- The data you would like to send to the smart contract (e.g. a transaction id)
- The data you would like to receive from the smart contract (e.g. a transaction result)
9. Click on the "Send transaction" button.
10. You will be prompted to confirm the transaction. Click on the "Send" button to proceed.
MetaMask 101: How to set up and use MetaMask
MetaMask is a browser extension that allows you to interact with the Ethereum network. MetaMask is installed on your browser and can be used to send and receive Ether, as well as access other Ethereum-based applications. This guide will show you how to set up MetaMask and use it to interact with the Ethereum network.
To set up MetaMask:
1. Open your browser and visit https://metamask.io/
2. Click the “Download” button next to the “Metamask” logo to download the MetaMask extension.
3. Once the extension has been downloaded, open it and click the “Install” button.
4. Once the extension has been installed, click the “Open” button in the MetaMask window to launch it.
5. In the MetaMask window, click the “Create New Account” button to create a new account.
6. In the “Account Name” field, enter a name for your account.
7. In the “Account Email” field, enter a valid email address for your account.
8. In the “Password” field, enter a password for your account.
9. Click the “Create Account” button to finish creating your account.
10. Once your account has been created, click the “Log In” button to log in.
11. In the “Log In” window, enter your credentials in the “Username” and “Password” fields and click the “Log In” button.
12. If you are not already logged in to your Ethereum account, MetaMask will ask you to log in to your account. Enter your credentials in the “Login ID” and “Password” fields and click the “Log In” button.
13. Once you have logged in, MetaMask will display your account information in the “Account Overview” window. Click the “Advanced Settings” button to open the “Advanced Settings” window.
14. In the “Advanced Settings” window, click the “Gas Limit” button to open the “Gas Limit” window.
15. In the “Gas Limit” window, set the gas limit for your account to 2000000 gas.
16. Click the “OK” button in the “Gas Limit” window to save your changes.
17. Click the “Close” button in the “Advanced Settings” window to close it.
18. Click the “Close All” button in the MetaMask window to close it and finish setting up MetaMask.
Getting started with MetaMask: A beginner's guide
If you're new to MetaMask, we recommend reading our beginner's guide first. After that, check out the following pages for more information:
How to use MetaMask
How to create a wallet with MetaMask
How to use MetaMask with Ethereum
How to use MetaMask with ERC20 tokens
How to use MetaMask with Bitcoin
How to use MetaMask to securely store your Ethereum
1. Open the MetaMask app on your computer.
2. Click on the three lines in the top right corner of the window.
3. In the "Add New Account" dialog, click on the "ETH" tab.
4. Fill in the following information:
a. Address: This is the address where you will send your Ethereum.
b. Login: This is your login credentials for MetaMask.
c. Password: This is your password for MetaMask.
5. Click on the "Create Account" button.
6. MetaMask will generate a new private key and a new public key. You will need to keep these keys safe, as they will be needed to access your Ethereum account.
7. Copy the private key and public key and store them somewhere safe, such as a secure password vault.
How to use MetaMask to buy, sell, and trade Ethereum
To use MetaMask to buy, sell, and trade Ethereum, first open the MetaMask app on your browser.
Next, click the three lines in the top left corner of the window.
This will open the "Add Custom Token" panel.
Enter Ethereum into the "Token Name" field.
Enter Ethereum into the "Token Symbol" field.
Click the "Create" button.
This will open the "Token Details" panel.
Enter the address you want to use for your Ethereum transactions in the "Address" field.
Enter the amount of Ethereum you want to spend in the "Amount" field.
Click the "OK" button.
This will open the "Confirm Transaction" panel.
If everything looks correct, click the "Yes, Send Transaction" button.
This will send your Ethereum transaction to the address you entered in the "Address" field.
If everything looks correct, click the "Close" button.
You now have Ethereum in your MetaMask account!

MetaMask tutorial: How to set up and use MetaMask
MetaMask is a web browser extension that allows you to interact with the blockchain. Once you have MetaMask installed, you can access the blockchain by clicking on the “metamask” button in your web browser.
1. In MetaMask, click on the “add account” button.
2. Enter the email address and password for the account you want to create.
3. Click on the “create account” button.
4. You will be asked to confirm your account creation. Click on the “confirm” button.
5. You will now be taken to the MetaMask main page.
6. On the main MetaMask page, click on the “metamask” button.
7. You will be prompted to install the MetaMask extension. Click on the “install” button.
8. Once the MetaMask extension has been installed, you will be taken to the MetaMask main page.
9. On the main MetaMask page, click on the “connect” button.
10. You will be prompted to enter your personal information. This information will be used to create a wallet address for your MetaMask account.
11. Enter your personal information and click on the “connect” button.
12. You will now be taken to the MetaMask wallet page.
13. On theMetaMask wallet page, click on the “new wallet” button.
14. You will be prompted to enter a name for your new wallet. This name will be used to identify your wallet on the blockchain.
15. Enter a name for your new wallet and click on the “new wallet” button.
16. You will now be taken to the MetaMask wallet creation page.
17. On the MetaMask wallet creation page, enter your wallet address and click on the “create” button.
18. You will now be taken to the MetaMask wallet page.
19. On the MetaMask wallet page, you will see your new wallet address and your balance.
Using MetaMask: A step-by-step guide
1. Open MetaMask and create a new account.
2. Click on the three lines in the top right corner of the MetaMask window.
3. On the "Add a site" popup, click on the "Create a new site" button.
4. Enter the following information into the "Site Name" field: "My first MetaMask site."
5. In the "Description" field, you can write a short description of your site.
6. In the "Location" field, you can choose a location for your site.
7. Click on the "Create Site" button.
8. You will now be taken to the "Site Details" page. On this page, you will need to provide some information about your site.
9. In the "Site Address" field, enter the address of your site.
10. In the "Site Port" field, enter the port number of your site.
11. In the "Site Protocol" field, enter the protocol of your site.
12. In the "Site Title" field, enter the title of your site.
13. Click on the "Save Site" button.
14. You will now be taken to the "Site Settings" page. On this page, you will need to configure some settings for your site.
15. In the "Site Title" field, enter the title of your site.
16. In the "Site Description" field, enter a description of your site.
17. In the "Site Url" field, enter the url of your site.
18. In the "Site Icon" field, enter the url of the icon file that will be used to represent your site on the web.
19. In the "Site Favicon" field, enter the url of the favicon file that will be used to represent your site on the web.
20. Click on the "Save Site" button.
21. You will now be taken to the "Login Page" page. On this page, you will need to enter your login credentials for your site.
22. Click on the "Login" button.
23. You will now be taken to the "Profile Page" page. On this page, you will be able to view and edit your site's profile information.
24. In the "Name" field, enter the name that will be used to represent your site on the internet.
25. In the "Url" field, enter the url of your profile page.
26. In the "Email Address" field, enter your email address.
27. In the "Gender" field, enter the gender of your profile page.
28. In the "Location" field, enter the location of your profile page.
29. In the "Interests" field, you can list any interests that are relevant to your site.
30. In the "Skills" field, you can list any skills that are relevant to your site.
31. Click on the "Save Profile" button.

MetaMask review: Is it the best Ethereum wallet?
There is no definitive answer to this question as everyone’s needs and preferences will differ. However, based on our review of the best Ethereum wallets, we would say that the MetaMask wallet is one of the most user-friendly and secure options available.
First and foremost, MetaMask is one of the most popular Ethereum wallets available. It has a user-friendly interface and is supported by a wide range of devices, including desktop and mobile browsers, as well as various platforms, such as Android, iOS and Windows.
Moreover, MetaMask is also one of the most security-conscious Ethereum wallets available. It has been Designed with security in mind from the ground up, and includes features such as two-factor authentication and a private key generator. In addition, MetaMask also has an in-built exchange function, which allows you to easily trade Ethereum for other cryptocurrencies or fiat currencies.
Overall, we highly recommend the MetaMask wallet for users looking for an easy-to-use and secure Ethereum wallet.
What is MetaMask and why should I use it?
MetaMask is a browser extension that allows you to securely interact with decentralized applications (dApps) and smart contracts. It enables you to perform transactions, manage your identities, and access content, all without leaving the web browser. By using MetaMask, you can easily stay in control of your digital life and protect your privacy.
How to keep your Ethereum safe with MetaMask
MetaMask is a browser extension that allows you to interact with Ethereum and other blockchain-based applications.
To keep your Ethereum safe with MetaMask, we recommend the following: