How to add Polygon Mainnet to MetaMask?
If you're a fan of the Ethereum blockchain and you want to start using the Polygon network, you're in luck. In this article, we'll show you how to add Polygon Mainnet to your MetaMask wallet.
- Add Polygon to Metamask
To add a polygon to Metamask, open the Metamask app and click on the "Add Custom Token" button in the top left corner.
Next, input the following information:
Name: Polygon
Token Symbol: POLY
Decimals: 18
Gas Limit: 1000000
After you finish inputting the information, click on the "Create" button.
Now, you'll need to add the Polygon token to your ERC20 compatible wallet. To do this, open your wallet and find the Polygon token. Click on it and then copy the token address.
Next, open Metamask and enter the Polygon token address into the "Token Address" field. Click on the "Create" button to create the Polygon token.
- How to add Polygon (MATIC) to your Metamask Wallet
Polygon (MATIC) is a new ERC20 token that can be added to your Metamask Wallet.
1. Open your Metamask Wallet and click on the Add Token button.
2. Enter the details of the Polygon (MATIC) token, including its address and symbol.
3. Click on the Generate Transaction button to send your Polygon (MATIC) tokens to your Metamask Wallet.
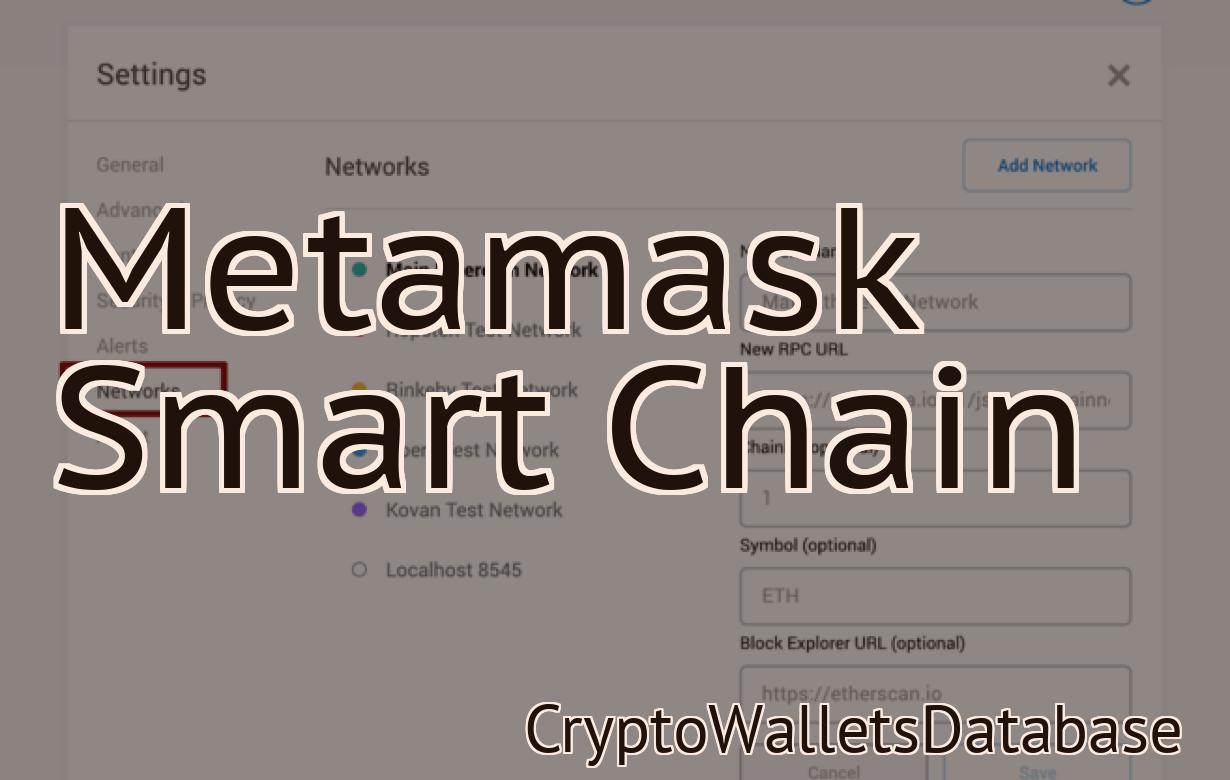
- Connecting Polygon Mainnet to Metamask
1. Open Metamask
2. Click on the “Settings” button in the top right corner
3. Under “Configure wallets”, click on “Connections”
4. On the right side of the window, click on the “+” button to add a new connection
5. In the “Host” field, enter “polygonmainnet.com”
6. In the “Port” field, enter “443”
7. In the “User” field, enter “metamask”
8. In the “Passphrase” field, enter your metamask passphrase
9. Click on the “Connect” button to connect to the Polygon Mainnet!
- How to Use Polygon with Metamask
1. To use Polygon with Metamask, first open the Metamask extension.
2. In the extension, click on the "Add Custom Token" button and enter the following information:
Name: Polygon
Type: ERC20
3. Click on the "Add Custom Token" button again and enter the following information:
Name: PolygonToken
Type: ERC20
4. Click on the "Add Custom Token" button again and enter the following information:
Name: mainToken
Type: ERC20
5. Click on the "Add Custom Token" button again and enter the following information:
Name: tokenProxy
Type: ERC20
6. Click on the "Add Custom Token" button again and enter the following information:
Name: tokenSale
Type: ERC20
- Adding a Polygon Custom RPC to Metamask
Metamask allows users to create custom RPCs. To do so, open the Metamask UI and click on the "Add Custom RPC" button.
The custom RPC creation dialog will appear. In the "Name" field, enter a name for your custom RPC. In the "Description" field, provide a description of your custom RPC.
In the "Type" field, select "Polygon." In the "Inputs" field, select the assets you want to use as inputs for your custom RPC. In the "Outputs" field, select the assets you want to use as outputs for your custom RPC.
In the "URL" field, enter the URL of the polygon you want to create.
In the "Gas Limit" field, enter the gas limit of the polygon you want to create.
Click on the "Create Custom RPC" button. Your custom RPC will be created and will be listed in the "RPCs" tab of the Metamask UI.
- How to Interact with Polygon Contracts in Metamask
To interact with polygon contracts in Metamask, first open the polygon contract you wish to work with. You can find this by going to the "My Contracts" section of your Metamask account and clicking on the polygon contract you wish to work with.
Once you have opened the polygon contract, you will see a list of all the actions available to you. The first action you will see is "Create New Token". This action allows you to create a new token on the polygon contract. To do this, you will need to input the details of the new token, including its name, symbol, and total supply. Once you have completed this step, you will be able to transfer the newly created token to your Metamask account.
The next action you will see is "Transfer Symbol". This action allows you to transfer the ownership of the token to another user. To do this, you will need to input the address of the user who you want to transfer the token to, as well as the amount of token you want to transfer. Once you have completed this step, the transfer will be complete and the user will be able to access the token in their Metamask account.
The last action you will see is "View Token Details". This action allows you to view the details of the token that you have transferred. This includes information such as the name, symbol, and total supply.